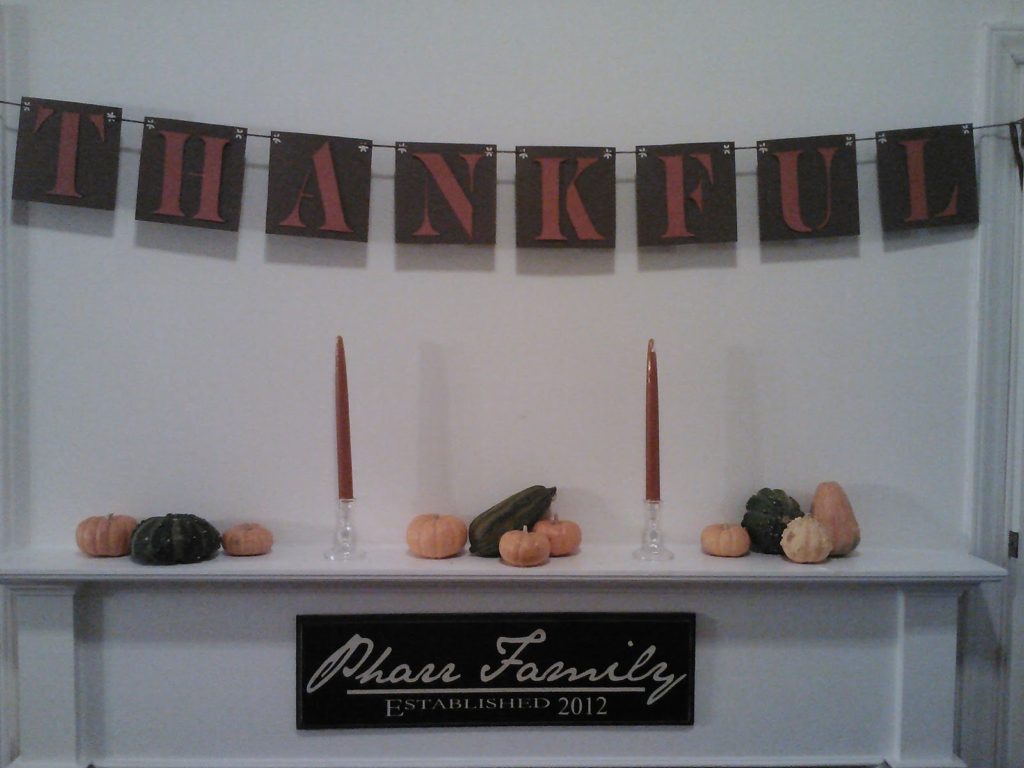
My very first Do-It-Yourself project: A “Thankful” Holiday sign!
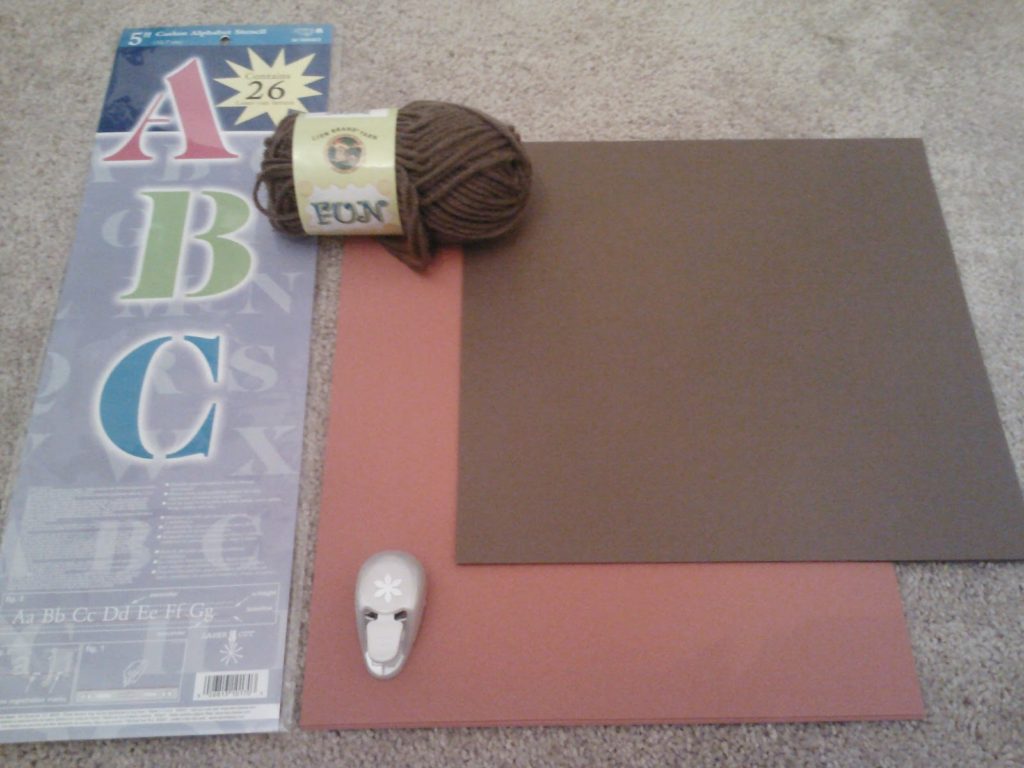
I wanted something simple and inexpensive to dress up our mantle a bit so I thought up the following using construction paper, letter stencils, a decorative hole puncher and yarn!
Target: “Vegetables” – $2.99, a pair of candles – $3.99, candle holders – $2.99 each
A.C. Moore: Construction Paper 4 sheets – $1.00, yarn – $1.00
Cost of “Thankful” Holiday Sign – $2.00, Total Cost: ~$12.00
*The “Pharr Family” sign was purchased awhile back from here!*
|
|
|
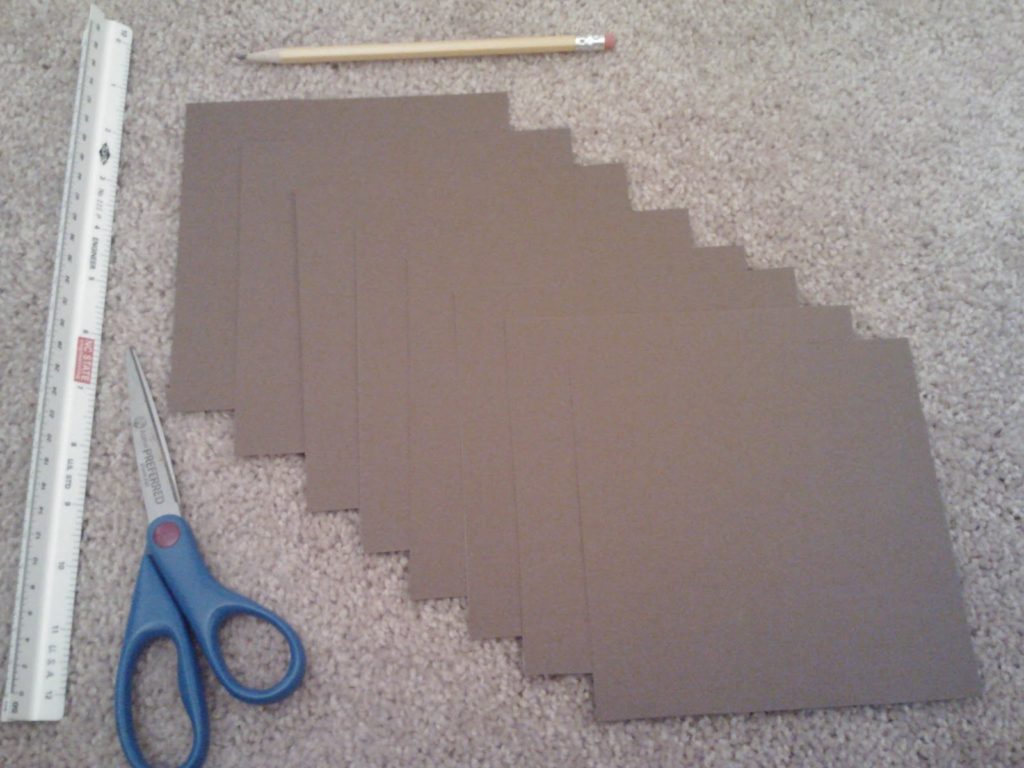
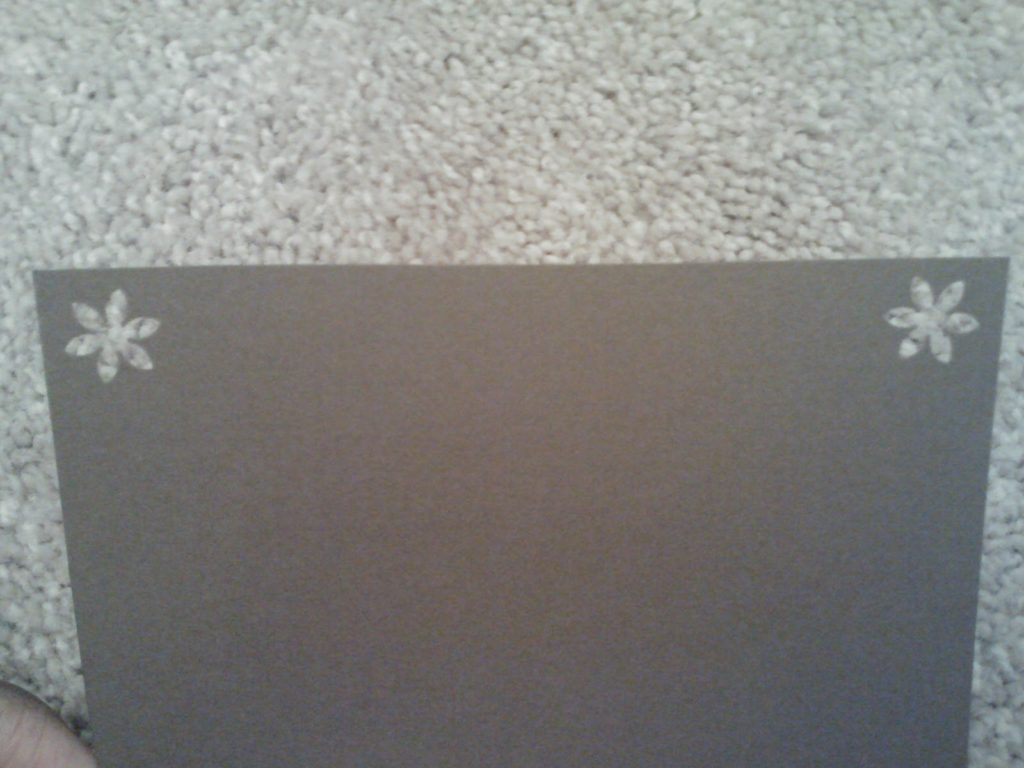
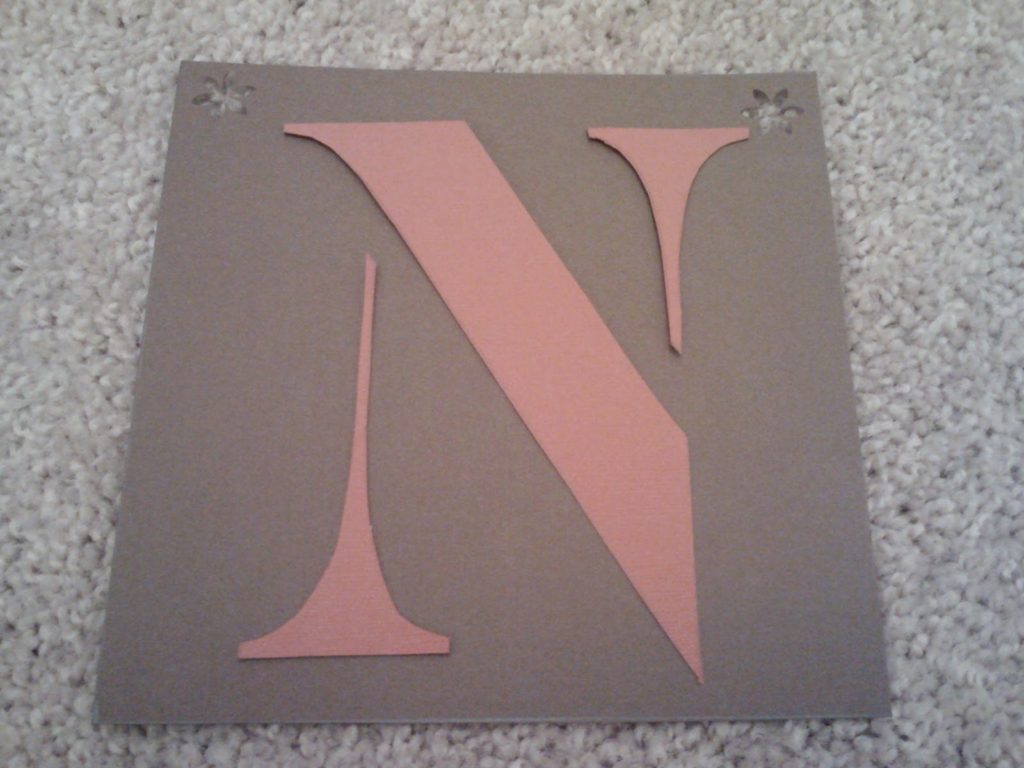
I made eight 6″x6″ squares for the background and punched two holes in the top of each.
|
|
|
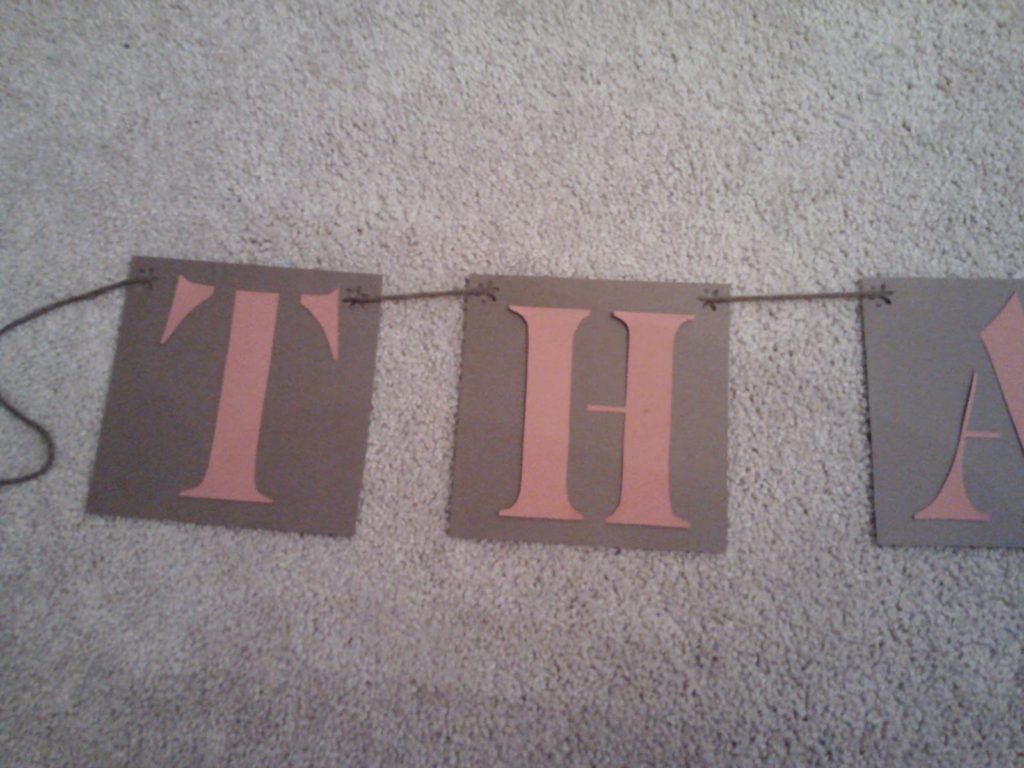
I then used the letter stencils to trace out each letter then cut and taped them to the background. (Note: I used tape instead of glue so that I could easily make changes as necessary–just personal preference).
I then looped the yarn into the punched holes and strung my easy peasy creation above the mantel!
Simple right?!? I thought so too!!! My husband thought the sign was store bought when I asked him about it the next day so I must have done something right :)!!!
Linking up today with Lolli at Better in Bulk, Angie at Seven Clown Circus, Amanda at Parenting By Dummies, Alicia at Project Alicia, and Kristi at live and love out loud!
What was your very first DIY project?!?
xoxo,
Nico!e
Great job! Your husband was right, it does look store-bought!
Yayyy, thanks Krista!!!
You did a GREAT job, Nicole!! Your banner looks fantastic and I love the board from Jennie!!
Thanks Ashley! I get so many compliments / questions about the Jennie board, I love it!!!
What a great idea…where were you on my Canadian Thanksgiving. I'm pinning this for next year 🙂
Aww, thanks Kimberly! Thanks for stopping by :)!!!
Yes it can be easily mistaken over store bought. You did a fantastic job!
Thanks Rina, I think I'm going to do a similar one in red / white for Christmas!!!